If you’ve ever looked at a bag of potting soil and thought “there has to be a cleaner way to do this,” you’ve already got the right instinct. Hydroponics lets you grow vegetables, herbs, and flowers faster, with less mess, and in far less space than traditional gardening — no soil required.
This guide covers everything you need to understand before you buy a single piece of equipment: how hydroponics actually works, which system type fits your space and budget, what it costs to get started, and the mistakes that trip up almost every beginner in their first month.
Table of Contents
Prefer a printable version? Free checklist at the bottom of this post.
What Is Hydroponics, Really?
Hydroponics is a method of growing plants without soil. Instead, roots sit directly in a nutrient-rich water solution, or in an inert growing medium (like clay pebbles or coco coir) that’s regularly fed with that solution.
Soil does two jobs for a plant: it holds the roots in place, and it acts as a slow-release delivery system for nutrients that bacteria and fungi break down over time. Hydroponics separates those two jobs. A growing medium or net pot handles the “holding the plant up” part, and you handle the “nutrient delivery” part directly, by mixing a nutrient solution and feeding it to the roots on a schedule.
Because you’re controlling nutrient concentration, pH, and oxygen levels directly instead of leaving them to soil chemistry, plants can grow noticeably faster — many hydroponic growers see 20–30% faster growth and larger yields compared to soil-grown counterparts, especially with leafy greens and herbs.
Why Grow Hydroponically?
Speed. Roots don’t have to search through soil for nutrients — the nutrients are already dissolved in the water right next to them. That efficiency translates into faster growth cycles.
Space efficiency. Hydroponic systems can be stacked vertically and don’t need deep soil beds, which makes them a realistic option for apartments, balconies, and small backyards.
Water efficiency. Recirculating hydroponic systems reuse the same water repeatedly, topping it up as plants absorb it. This typically uses far less water than soil gardening, where a large percentage of water simply drains away or evaporates.
Fewer pests and soil-borne diseases. No soil means no soil-dwelling pests, fungus, or weed seeds competing with your plants.
Year-round growing. Move an indoor hydroponic setup under a grow light and the growing season becomes irrelevant. You’re not at the mercy of frost dates.
It’s not entirely upside — hydroponics has a higher upfront cost than sticking seeds in the ground, and it needs more regular attention (you can’t “forget to water” for a week the way soil sometimes forgives). But for anyone who wants consistent, fast, space-efficient growing, it’s hard to beat.
The Three Things Every Hydroponic System Needs
Regardless of which specific system you choose, every hydroponic setup needs three core components:
- A reservoir — holds the water and nutrient solution.
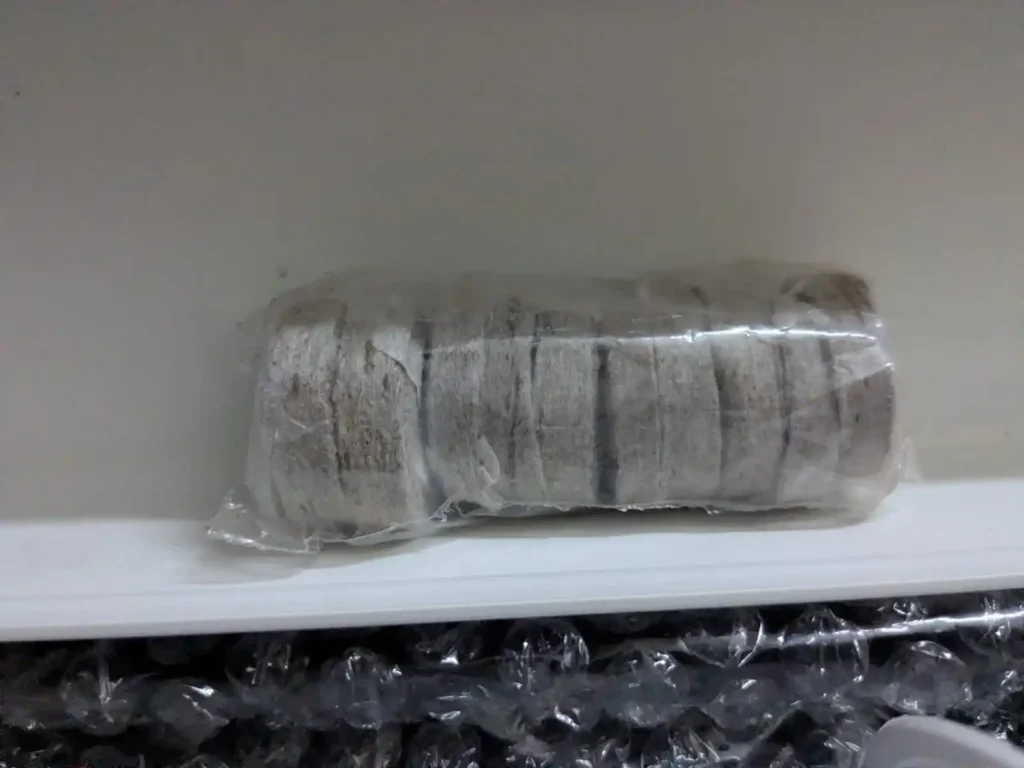
- A growing medium or support — net pots, clay pebbles (LECA), rockwool, or coco coir hold the plant upright since there’s no soil to anchor roots.
- A nutrient delivery method — how the roots actually access the solution, whether that’s constant submersion, periodic flooding, or a fine mist.
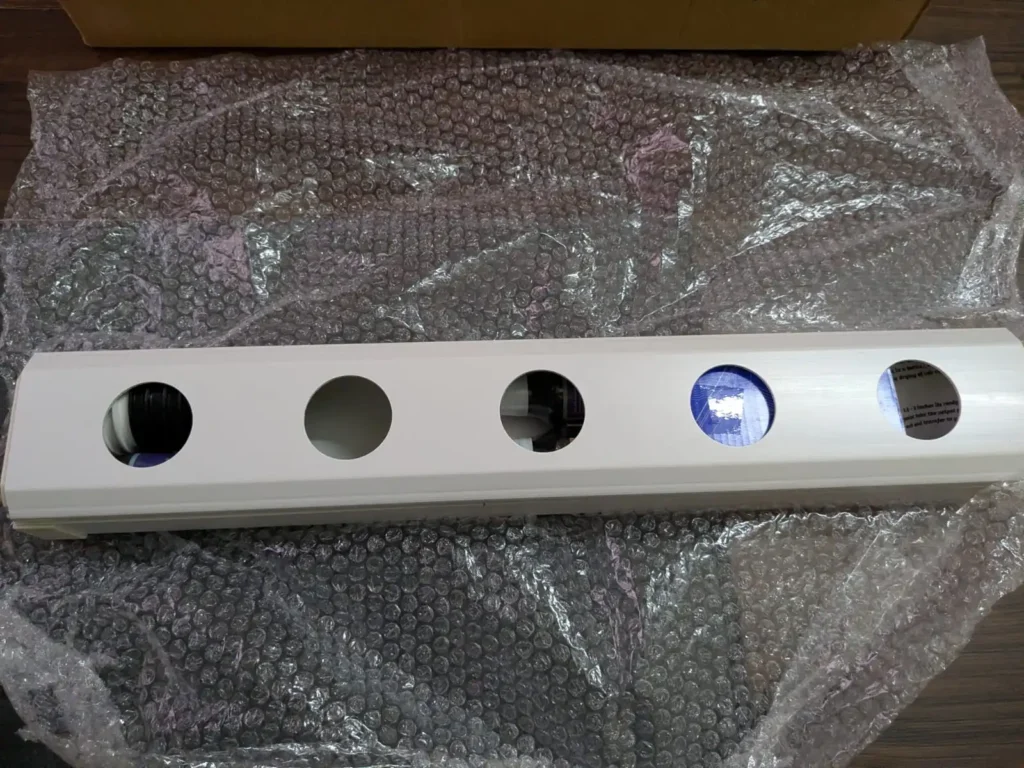
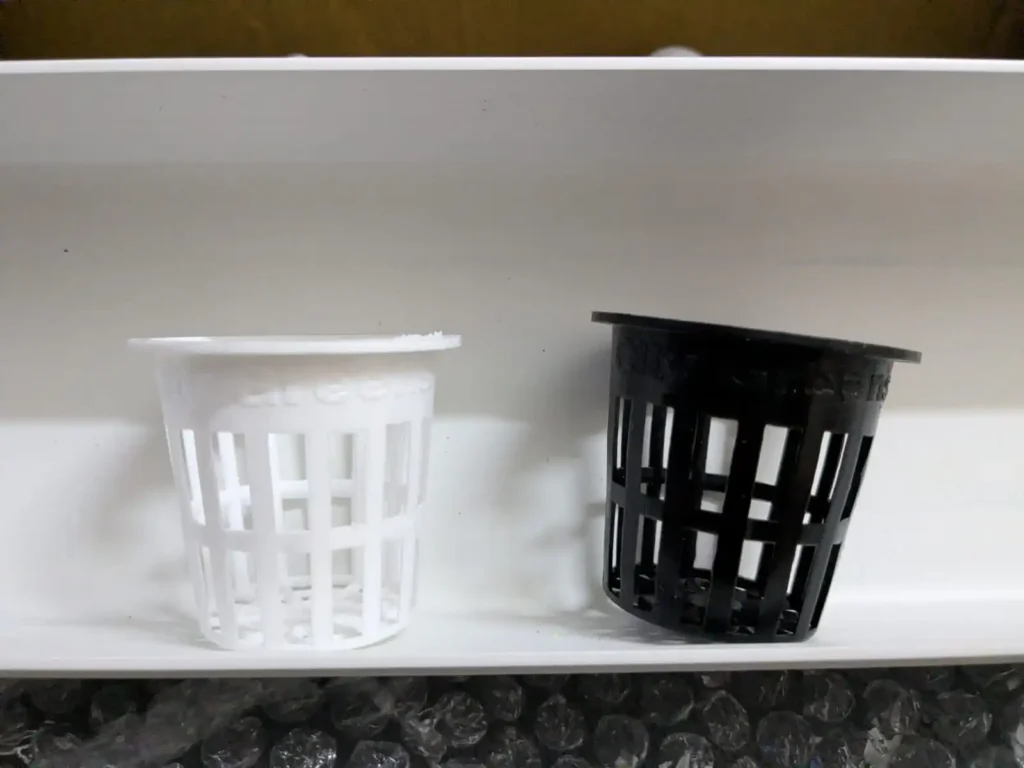
Everything else — pumps, timers, grow lights, pH meters — exists to support those three fundamentals.
The Main Types of Hydroponic Systems
You don’t need to master all of these. Pick one that matches your budget, space, and how hands-on you want to be.
Kratky Method (Best for absolute beginners)
No pumps, no electricity, no moving parts. You suspend a plant above a reservoir of nutrient solution with its roots partially submerged. As the plant drinks, the water level drops, exposing more root to air — which is exactly what the plant needs as it grows. It’s essentially “set it and forget it” hydroponics, and it’s the cheapest possible way to try growing lettuce, basil, or other short-cycle crops in a mason jar on a windowsill.
Deep Water Culture (DWC)
Similar to Kratky, but with an air pump and air stone constantly oxygenating the water, so roots stay fully submerged without drowning. This supports larger, longer-growing plants (like tomatoes) that the passive Kratky method can’t sustain long-term.
Nutrient Film Technique (NFT)
A thin, continuously flowing film of nutrient solution runs past the roots through a sloped channel. It’s efficient and popular commercially, but it depends entirely on a working pump — if the pump fails, roots dry out fast. Better for growers ready for a bit more complexity.
Ebb and Flow (Flood and Drain)
A pump periodically floods a tray holding your plants in growing medium, then drains back into the reservoir. This gives roots regular access to both nutrients and oxygen and is fairly forgiving of timing.
Drip Systems
Nutrient solution drips slowly onto each plant’s base through individual tubing, similar to drip irrigation. Highly controllable and scalable, which is why it’s common in larger or commercial setups.
Aeroponics
Roots hang in the air and are misted with nutrient solution at intervals. This delivers the most oxygen to the roots and can produce the fastest growth, but it’s also the least forgiving — a failed mister can kill a plant’s roots within hours.
For a full breakdown of when to choose each of these, see our [DWC vs NFT vs Ebb and Flow comparison guide] (link once published).
What You’ll Actually Need to Get Started
For a first setup, keep it simple. Here’s a realistic beginner shopping list:
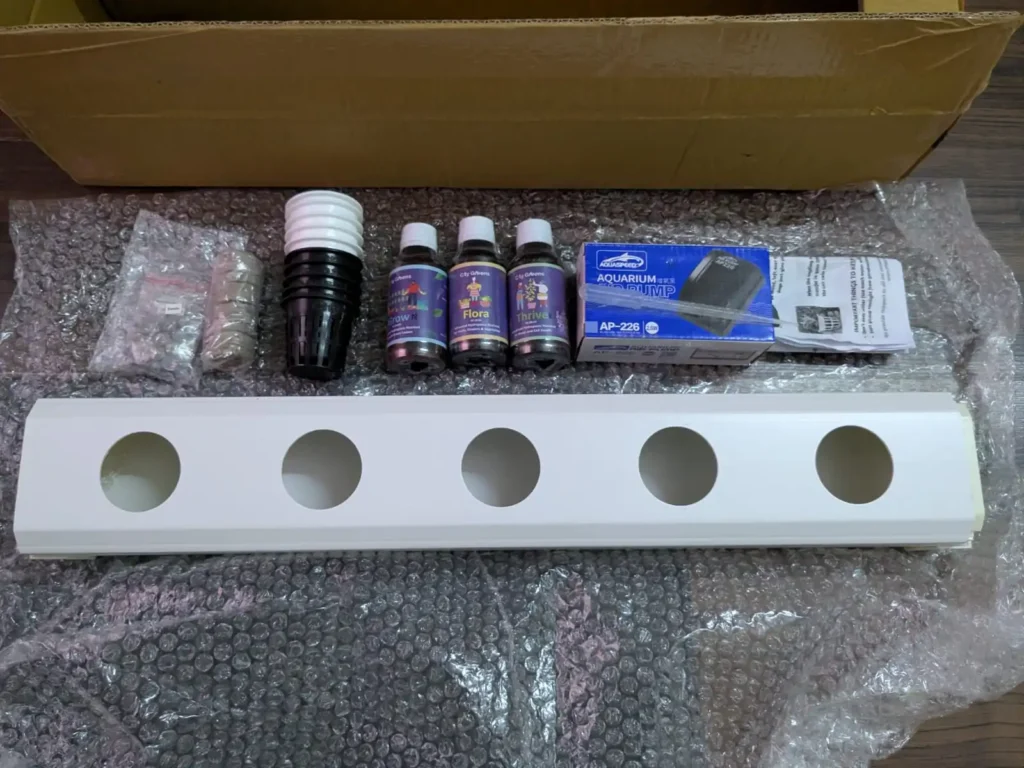
- A reservoir or container (a bucket, tote, or a purpose-built system)
- Net pots to hold your plants
- A growing medium — clay pebbles (LECA) or rockwool cubes are the most beginner-friendly
- A hydroponic nutrient solution — don’t substitute regular houseplant fertilizer; hydroponic nutrients are formulated for water-based delivery
- A pH testing kit or meter — pH drifting out of range is the single most common reason beginner hydroponic plants struggle
- An air pump and air stone (if going DWC)
- A grow light, if you’re growing indoors away from a sunny window
We cover exact product picks in our grow tent kits, LED grow lights, and pH meters buying guides.
Understanding pH and Nutrients (The Part Beginners Skip — Don’t)
This is the section most beginner guides rush through, and it’s exactly why most first attempts at hydroponics fail.
pH matters more in hydroponics than in soil. In soil, minerals and organic matter buffer pH naturally. In water, there’s nothing to buffer it, so pH can swing quickly — and if it drifts outside the right range, plants physically cannot absorb certain nutrients even if those nutrients are present in the water. Most hydroponic plants want a pH between 5.5 and 6.5. Check it every few days when you’re starting out, using a digital meter or liquid test kit, and adjust with pH up/down solutions in small increments.
Nutrient concentration matters too. Hydroponic nutrients are usually sold as concentrates you dilute per the label — often described using EC (electrical conductivity) or PPM (parts per million) targets rather than a fixed dose. Too concentrated, and you’ll burn roots and see leaf tip browning. Too dilute, and plants show classic deficiency signs like yellowing leaves. Most beginner nutrient lines include clear starter charts by plant type and growth stage — follow them closely for your first few grows before you start adjusting by feel.
We go deep on this in our nutrient mixing guide and our pH & EC reference chart.
What to Grow First
Not all plants are equally beginner-friendly. Start with something forgiving and fast, so you get a full grow cycle under your belt before investing more time or money.
Best beginner crops:
- Lettuce and other leafy greens (ready in 4–6 weeks)
- Basil and most culinary herbs
- Spinach
- Microgreens (ready in 1–2 weeks — the fastest possible feedback loop)
Save these for after your first successful grow:
- Tomatoes and peppers (longer cycles, heavier feeders, need more support)
- Strawberries
- Cucumbers
Leafy greens and herbs are forgiving of minor pH or nutrient mistakes and give you a full harvest in weeks rather than months, which means faster learning.
Common Beginner Mistakes (and How to Avoid Them)
Ignoring pH until something goes wrong. By the time leaves show visible damage, the problem has usually been building for days. Check pH proactively, not reactively.
Using the wrong nutrients. Standard soil fertilizers aren’t formulated for hydroponic delivery and can clog systems or throw off your nutrient balance. Use nutrients labeled specifically for hydroponic use.
Overcrowding the reservoir. More plants than your reservoir and pump can support leads to oxygen competition and nutrient depletion. Start smaller than you think you need to.
Letting light leak into the reservoir. Light hitting the nutrient solution encourages algae growth, which competes with your plants for nutrients and oxygen. Use opaque containers or wrap clear reservoirs to block light.
Not oxygenating the water. Roots need oxygen just as much as nutrients. In systems without constant flow (like basic DWC), an air pump and air stone aren’t optional extras — they’re essential.
Changing everything at once when something looks wrong. If plants look unhealthy, resist the urge to change the nutrient mix, the pH, and the lighting all in the same day. Change one variable, wait a few days, and observe — otherwise you won’t know what actually fixed (or worsened) the problem.
How Much Does It Cost to Start?
Costs vary widely depending on scale:
- Kratky/mason jar setup: Under $20 — a mason jar, net pot lid, and a small bottle of nutrients.
- Small DWC bucket system: $40–$100 for a bucket, air pump, net pots, and nutrients.
- Complete beginner grow tent kit (tent + light + ventilation): $150–$400.
- More advanced indoor setups with automation: $500+.
You genuinely don’t need to spend hundreds of dollars to find out if you enjoy hydroponics. Start with a Kratky jar or a simple bucket DWC system, get one successful harvest under your belt, and then decide how much further to invest.
For a full cost breakdown by system type, see our complete hydroponics budget guide.
Your First 30 Days: A Simple Plan
Week 1: Choose your system (Kratky or basic DWC is easiest), gather materials, and start seedlings in rockwool cubes or a similar starter medium.
Week 2: Once seedlings show their first true leaves and a healthy root, transplant into your system. Begin checking pH every 2–3 days.
Weeks 3–4: Maintain nutrient levels per your nutrient brand’s feeding chart, watch for the common problem signs above, and top up water as the reservoir depletes.
Week 5–6 (for leafy greens): Harvest, evaluate what worked and what didn’t, and decide whether to repeat the same setup or try a new system type.
Want this as a printable checklist?
Grab the free PDF version — every step in this guide in one printable page.
Where to Go From Here
Hydroponics rewards curiosity — the fastest way to get good at it is to actually grow something, even if your first harvest is a slightly uneven bowl of lettuce. Once you’ve got the basics down, these are the natural next steps:
- Learn the Kratky method in depth if you want the simplest possible entry point
- Compare hydroponic system types(link once published) if you’re ready to move beyond a mason jar
- Get the pH and nutrient basics dialed in so your plants actually thrive, not just survive
Everything on this site is built around the same starting point: skip the overwhelm, get a working system running, and learn by growing.
Legal Disclaimer : As an Amazon Associate HowHydroponics.com earns from qualifying purchases. HowHydroponics.com also participates in affiliate programs with other sites. HowHydroponics.com is compensated for referring traffic and business to these companies.
1 thought on “Hydroponics for Beginners: The Complete Starter Guide”
Comments are closed.